Cleaning the brewing unit of your machine regularly is important as it isn’t visible from the outside. The brewing unit can become contaminated and develop into a breeding ground for harmful bacteria. Cleaning the brewing unit can take some time, however a clean brewing unit improves the functionality of your machine and increases its lifespan.
Step by step guide
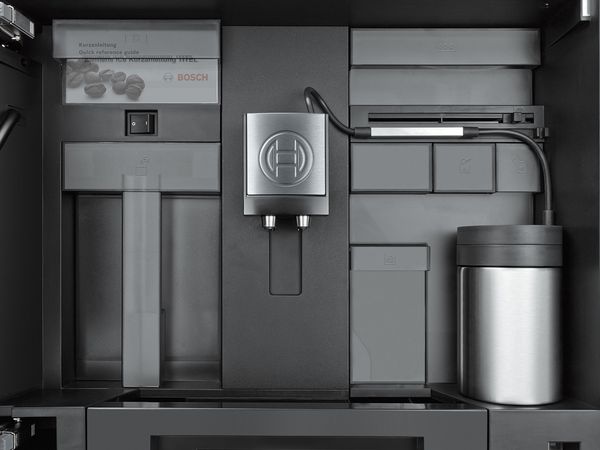
1. Open the appliance door.
2. Use the mains switch to switch off the appliance completely.
3. Remove the protective cover of the brewing unit.
4. Remove the coffee grounds container.
5. Slide the red latch on the brewing unit all the way to the left.
6. Press the eject lever right down. The brewing unit will be released.
7. Take hold of the brewing unit by the recessed grips and carefully remove it.
8. Remove the cover of the brewing unit and clean thoroughly under running water
9. Clean the strainer of the brewing unit thoroughly.
10. Thoroughly clean the connecting nozzles.
11. Clean the inside of the appliance with a moist cloth, removing any coffee residue.
12. Leave the appliance to dry.
13. Place the cover back on the brewing unit.
14. Push the brewing unit all the way into the appliance and press on the middle until it audibly clicks into place.
Important: The red latch must be right over at the left before replacing.
15. Press the eject lever right up and push the red latch right over to the right.
16. Insert the coffee grounds container.
17. Replace the protective cover.
18. Close the appliance door.
Important:Never clean your brewing unit with washing up liquid, as it can remove the grease needed to function. The brewing unit is also not dishwasher safe, please clean by hand.
Please remember that instructions may vary per appliance, and it’s always worth checking the appliance's instruction manual or contacting us if you’re unsure.


