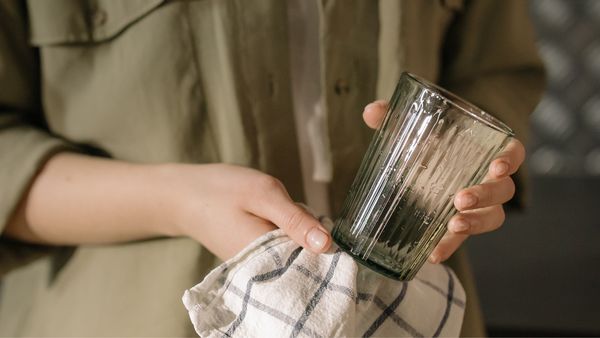
Cleaning has many benefits, from hygiene pros to the mood-boosting power of making things shine; a clean home is an ideal setting for a happy, stress-free life.
Whether you live in a small apartment or a large house, sticking to a rough schedule is an ideal way to take the confusion out of cleaning. When your home is sparkling, you’re almost sure to feel happier and more relaxed spending time there. It’s time to figure out your cleaning schedule.
How often should you clean your house?
We’re taking tips from the pros – a good house cleaning schedule should include specific tasks that you carry out every day, week, and month. But don’t worry! You won’t need to quit your job to stick to your new schedule. The daily steps are more like things to bear in mind, while weekly assignments also won’t take too much time if you keep up with them.
How to create a cleaning schedule
When you set out a daily, weekly, and monthly cleaning schedule and follow as best you can, everything becomes instantly simpler. Stay on top of your home and enjoy the gratification of cleaning things before they get dirty. It’s time to say goodbye to dust bunnies, baked-on grease, and soapy drains forever.
Make a physical schedule to refer to
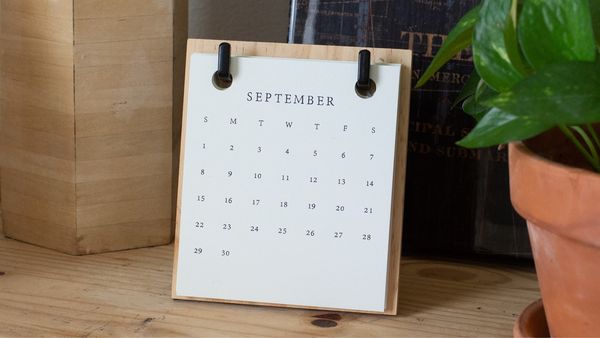
The best way to make a cleaning schedule is to, well, make one! This means creating a physical plan that you can refer to every week and month when it’s time to clean. You might want to do this in a note on your phone, pen and paper, or a magnetic blackboard stuck to your fridge.
Forget about your daily tasks for this – you should be completing these on autopilot. Instead, list out your weekly and monthly cleaning jobs and simply cross them off when they’re done. Who knows, perhaps a helpful family member will get involved too!

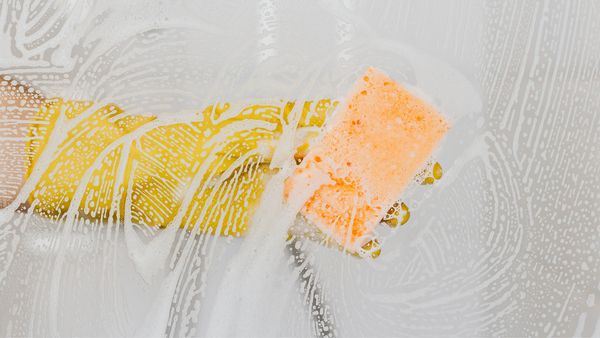
Figure out what needs to be done
When you’re planning out your cleaning routine, it helps to walk around your home, noting down all the things you’d like to get done. Forget about the timings for now. This might include making the bed, cleaning dishes, wiping down bathroom surfaces, and cleaning the oven. Don’t worry about what’s realistic at this stage – you’re simply writing down everything you’d do in an ideal world.
Next, it’s time to sort out your tasks into daily, weekly, and monthly plans.
Daily cleaning schedule
Let’s start with your day-to-day tasks. These are the things that you should do without thinking, keeping things neat and organised throughout the week so you can enjoy a bright start every morning.
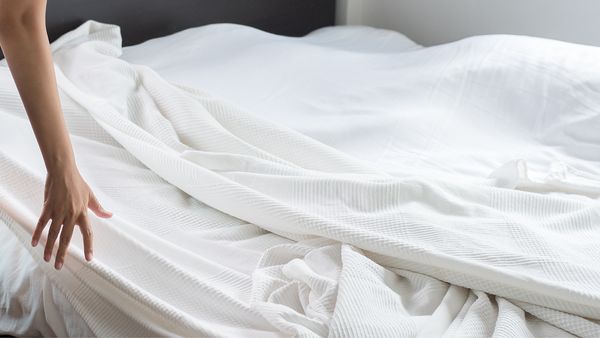
1. Make the bed
2. Stay on top of the laundry
Clean any dishes used throughout the day
Clean and small kitchen appliances, like coffee makers, used throughout the day
6. Wipe your kitchen counters
7. Wipe your kitchen table
8. Vacuum the kitchen floor
9. Wipe down your bathroom surfaces
10. Wipe down sinks
11. Squeegee or sponge down shower walls after each use
Of course, you don’t need to do all of these things every day. But if you do, you’ll find that these tasks take just a couple of minutes each, and completing them will make your weekly and monthly cleaning much more speedy.
Weekly cleaning schedule
A weekly cleaning schedule looks different for everyone and will depend a lot on your lifestyle. Suppose you live with one other person and don’t have any children or pets to worry about. In that case, you might want to go through your weekly cleaning schedule on a Saturday or Sunday morning, spending a few hours working your way through the list.
If you’re taking care of a busy household, weekends might not work. In that case, squeeze in your weekly cleaning hours on weeknights when little ones have gone to bed, and keep your weekends free for family time.
1. Change used bedding
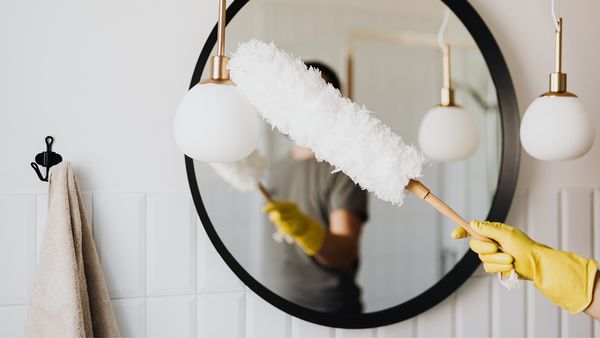
2. Dust around the house
3. Clean mirrors
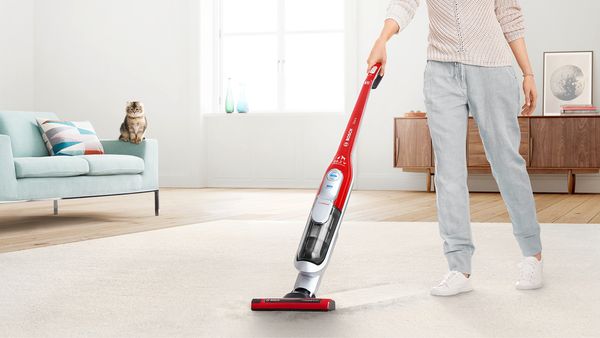
4. Vacuum the entire house
5. Mop hard floors
So you see, if you stay on top of your daily cleaning tasks, your weekly jobs become much fewer! Depending on your house’s size, you should be able to get through your weekly cleaning schedule in as little as an hour or two.
Monthly and yearly cleaning tasks
With a good daily and weekly cleaning routine in place, you’ll be able to forget about the superficial stuff when it comes to your less-frequent deep cleans. These are the jobs that you won’t need to think about too often, but they shouldn’t be ignored forever. Dirt and grime build up in these areas over more extended periods, so be sure to think about them occasionally and make sure every inch of your home is clean!
1. Clean vents
2. Dust curtains and blinds
3. Dust light fixtures
4. Vacuum and mop underneath and behind furniture
5. Clean your dishwasher
6. Clean your washing machine
7. Clean out and wipe down the inside of your fridge
8. Clean out your freezer – frozen food doesn’t last forever!
9. Clean your oven
10. Descale your kettle and coffee maker
These deep-cleaning jobs are as important as your daily tasks; they just roll around less often. You mustn’t ignore one of these jobs if you think they need doing early! Say the inside of your fridge is a mess, or your oven is caked in muck. In that case, it’s a good idea to clean things up as soon as possible. Left unchecked, messes like these will only get worse.
Expert tips to make cleaning a breeze
Now you know what you need to clean, it’s time to learn how best to get the job done. These tips will help you save time on your daily, weekly, and monthly cleaning tasks.
Essential cleaning supplies to keep at home
If you’re going to keep your home clean, you’ll need more than just good intentions! Ensure you have all the essential supplies you might need, ready to go at the drop of a hat. From detergents and polish to fluffy dusters and sponges, these household supplies will help you achieve the beautiful results you’re looking for.
|
• Soft sponges • Scouring pads • Microfibre cloths • Small brushes • A mop and bucket • A dustpan and brush • Rubber gloves • Furniture polish • Glass cleaner • Multipurpose cleaner |
• Disinfectant • Bleach • Washing up liquid • Oven cleaner • Dishwasher cleaner • Laundry detergent • Fabric softener • Toilet cleaner • Floor cleaner • A vacuum cleaner • Descaler • A caddy to carry your cleaning supplies around the house |
Use this as a guide rather than an essential list. It might seem like a lot, but you might not need all of the supplies listed here to clean your home. Many of these cleaning supplies can double up, too. For example, you might use bleach to clean your toilet instead of a dedicated toilet cleaner. Similarly, your multipurpose cleaning spray can work on many surfaces and even mirrors if you choose the right product.
Tips and tricks for effective cleaning
When you clean all the parts of your home well, you’ll need to revisit these areas even less frequently. Nail down your technique to cut back on the hours you spend cleaning each week and enjoy more time relaxing in your sparkling home!
1. Cleaning a coffee maker
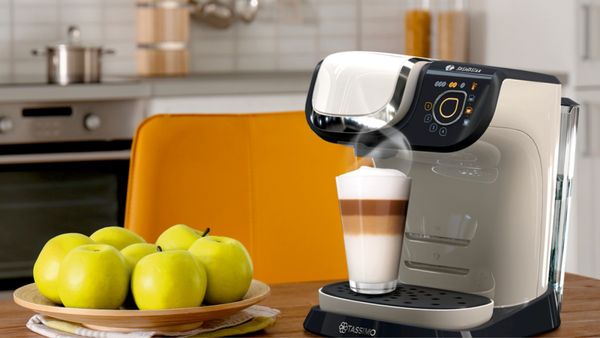
Coffee machines can be a pain to clean, particularly if you’re trying to do a quick job and aren’t willing to get stuck in. When you have time, it’s best to separate all removable parts and wash them in warm, soapy water. Rinse, then set them aside to drain while you wipe down the main machine. Dry everything, then reassemble your machine.
If you use your coffee maker lots, you might like to do this after your last brew of the day to save repeating work.
2. Descaling your kettle
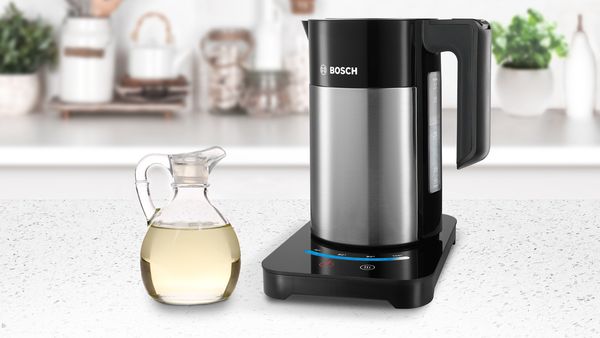
Remove mineral build-up inside your kettle and coffee maker by filling them with a solution of half water, half white vinegar. Flick on the heat and let it brew. Then, leave the water inside your appliance for around 30 minutes. When time’s up, pour the mix away and brew a maximum amount of clean water to rinse away any lingering vinegar.
3. Cleaning dirty dishes
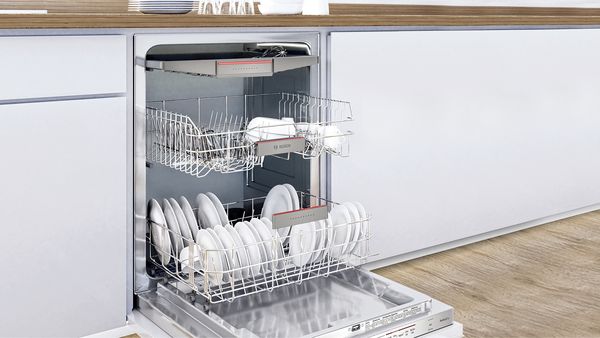
You should never put food-covered plates into the dishwasher – you risk clogging the filter if you do this. But there’s no need to rinse away all signs of sauce or grease either.
Our modern machines and detergents can more than handle food residue; some of them even work better with particles to grab onto! So scrape away leftovers and neatly stack your dishes with confidence, saving time and water each time you load the washer.
4. Sanitising sinks
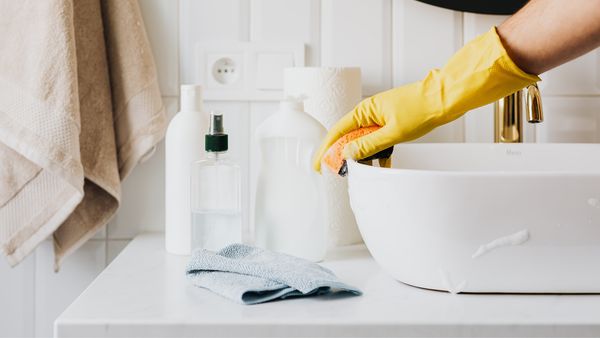
Sanitising your sinks might not be something you think about doing. After all, we use them for washing, so shouldn’t they clean themselves in the process?
It’s a good idea to kill bacteria in your sink once a week by filling it with warm water and mixing around a splash of bleach. Leave this germ-busting solution to settle for five minutes, or while you wipe down your kitchen surfaces, then remove the plug with a gloved hand. Bacteria, be gone!
5. Cleaning inside your microwave
Cleaning the inside of your microwave can be a pain. The awkward angles and stubborn splashes are undoubtedly annoying. But, good news, there is a way to simplify!
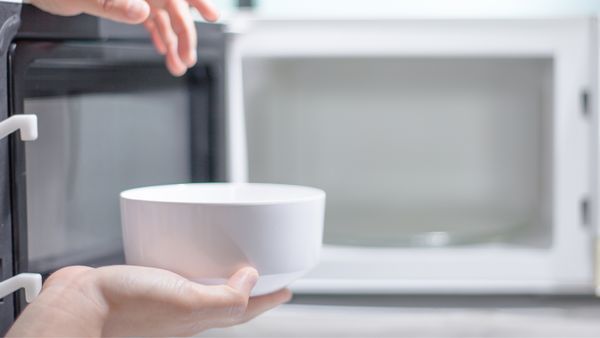
Fill a microwaveable bowl with water and a few tablespoons of vinegar, then heat the mix on high for around five minutes, or until the glass steams up. Leave things to cool off for another five minutes, then open the door, remove the bowl, and wipe around the inside of your microwave with a soapy sponge. Any grease or splashes should come away in no time.
6. Cleaning inside your laundry machine
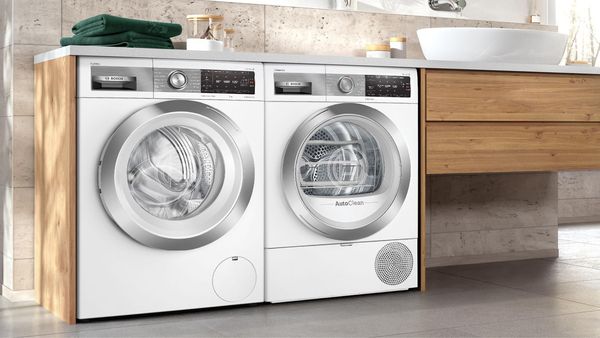
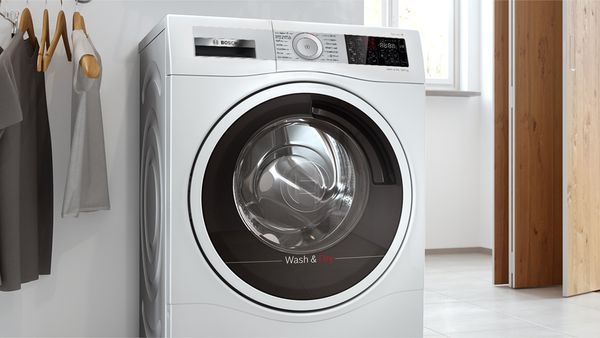
Something else you might have been neglecting for a while, the inside of your laundry machine is often wet and warm, an ideal home for bacteria. Soap residue and chemicals can get trapped inside, holding onto germs and clogging your machine’s mechanisms. So, it’s best to give it a clean around once a month.
Some new washing machines have a dedicated cleaning cycle. If you own one of these modern models, simply run that with the machine empty once a month. If yours is a little older, simply throw in some washing machine cleaner and run it on a regular cycle.
7. Washing pillows
You probably wash your bedding once a week or fortnightly. And that’s great! But when’s the last time you did the same to your pillows?
Pillows can go in the laundry machine like anything else, but be careful not to overstuff the barrel. Two at a time is ideal, washed on a gentle, warm cycle with a spin at the end. When the wash is complete, throw in a couple of dryer balls and tumble dry your pillows for extra-fluffy results.

8. Cleaning your toilet
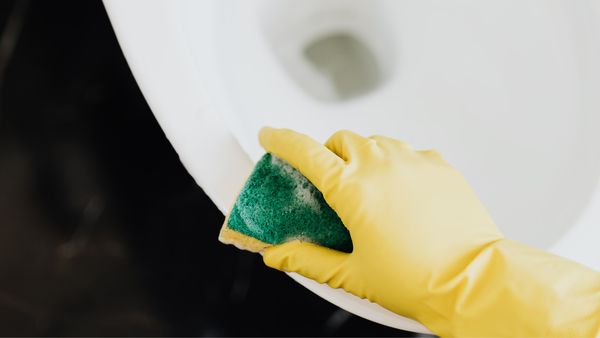
Your toilet is one of the weekly tasks you might dread, but it’s actually one of the most manageable things in your house to clean. Simply squirt in a toilet cleaner or bleach and let it sit for five minutes while you wipe down the seat and handle with disinfectant. Next, scrub the bowl with a stiff toilet brush before flushing to reveal a sparkling shine.
9. Cleaning cloudy glass
Whether it’s the glasses you drink from or a streaky shower screen, white vinegar is your secret weapon when it comes to cleaning cloudy glass. Soak drinking glasses in water and white vinegar for around five minutes before rinsing and drying with a microfibre cloth. You’ll be left with a beautiful, crystal-clear shine to be proud of.
And that’s that! Build your personalised cleaning schedule and familiarise yourself with tips and tricks to make the routine easier. With just a little preparation and planning, keeping your household clean and tidy has never been simpler.
